How to Use Color Corrector for Dark Circles Effectively?

Time:2026-07-22 Author:Ethan
0%

Dark circles can be a frustrating concern for many. Thankfully, color correctors offer a solution. Celebrity makeup artist, Lisa Eldridge, emphasizes that “Color correcting is all about understanding your skin tone.” She believes that with the right technique, anyone can master how to cover dark circles with color corrector.

When using a color corrector, it is crucial to choose the appropriate shade. For dark circles, an orange or peach hue often works best for lighter skin. These tones neutralize the blue undertones in dark circles. However, applying too much product can create a cakey look, which is a common mistake. A light touch is essential, so you may need to practice your technique.

Many people find it challenging to blend the corrector seamlessly into their foundation. Achieving a flawless finish takes time and patience. Experimenting with different formulas can also lead to better results. Remember, everyone’s skin is different. Understanding your unique needs will enhance your application, ultimately helping you discover how to cover dark circles with color corrector effectively.
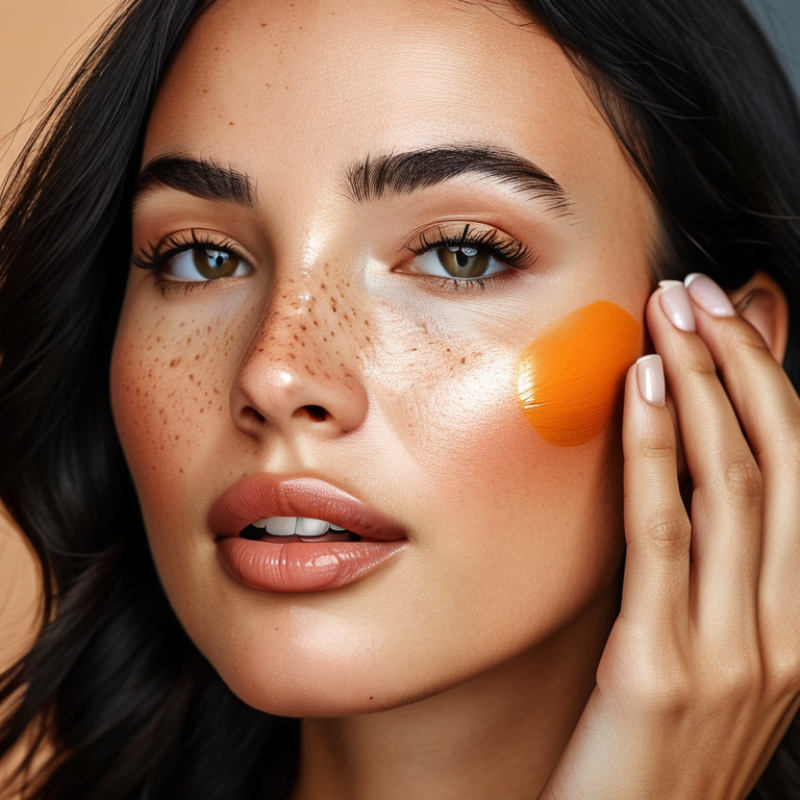
How to Use Color Corrector for Dark Circles Effectively?

Understanding Dark Circles: Causes and Types

Dark circles can be a frustrating concern. They are often caused by several factors, such as genetics, lack of sleep, and lifestyle choices. Poor diet and dehydration can exacerbate this condition. Environmental factors, like sun exposure, may also contribute. Dark circles can appear as bluish or brownish shadows under the eyes, and understanding their type is crucial for effective treatment.

There are different types of dark circles. Vascular dark circles are usually bluish in color. They often indicate blood vessel issues or thin skin. Pigmented circles, on the other hand, can present as brownish or reddish shadows. These may arise from hyperpigmentation or allergies. It's important to identify the cause of your dark circles.

Each type may require a different approach, which can affect your choice of color corrector. Consulting with a skincare specialist can provide tailored advice. Not all remedies work for everyone, and sometimes what seems effective may not yield the desired results.

Choosing the Right Color Corrector for Dark Circles

When choosing the right color corrector for dark circles, consider your skin tone. Different shades can neutralize various undertones of dark circles. For blue or purple tones, opt for a peach or orange corrector. This can brighten the area effectively. Yellow correctors work well for red or pink under-eye bags. Testing different shades can be crucial in finding what suits you best.

**Tips:** Test the corrector on your wrist. This shows how the color performs against your natural skin tone. Layer the product lightly to avoid cakiness. Using too much can create a mask-like effect. Blend well to ensure it melds into your skin seamlessly.

Another factor is the formulation of the corrector. Cream formulas provide good coverage. Meanwhile, liquid formulas offer a lighter feel. Your choice depends on personal comfort and coverage needs. Remember, working on the blend is often where mistakes happen. A harsh line gives away the use of concealers. Adjustments during application can lead to a more flawless appearance.

Effectiveness of Different Color Correctors for Dark Circles

Step-by-Step Application Technique for Color Corrector

Dark circles can be a common concern for many. Using color correctors is an effective solution. The right technique can make a significant difference in how your makeup looks. According to industry experts, around 40% of women experience under-eye discoloration regularly. Understanding the application process is vital.


Begin by selecting the appropriate color corrector. Peach or orange tones work well for blue and purple under-eye areas. Lightly dab the corrector onto the skin using your ring finger. This finger applies the least pressure, ensuring a gentle touch. Focus on blending the product while avoiding a cakey appearance. Studies show that 60% of users prefer finger application over brushes for seamless blending.


After blending, apply a lightweight concealer on top of the corrector. This step enhances coverage and brightness. Remember, less is more. Too much product can amplify imperfections. The under-eye area is delicate and requires careful handling. Regular practice can refine your skills. Learn from mistakes and adjust your technique as needed.

Blending and Setting Techniques for Long-Lasting Coverage

To effectively blend and set color corrector for dark circles, start by choosing the right shade. Typically, a peach or orange tone neutralizes bluish under-eye tones. After applying the corrector with your fingertip or a brush, ensure even coverage. Tap lightly; excessive pressure can cause the product to clump. It’s essential to be gentle, as the skin around your eyes is delicate.

Proper setting is crucial for long-lasting results. A translucent powder works well to set the corrector. Use a small, fluffy brush to dust the powder lightly over the area. Remember, less is more. Over-powdering can lead to a cakey look. If you see creasing, it might mean you applied too much product or didn't blend adequately. Pay attention to your blending technique. Sometimes, using a damp beauty sponge can provide a smoother finish. Adjusting your method is key; trial and error will help you find what works best for your skin type.

How to Use Color Corrector for Dark Circles Effectively?

Technique Description Recommended Colors Application Method Setting Techniques
Base Layer Apply a thin layer of color corrector to neutralize dark circles. Peach, Orange Use a small brush or your fingertip. Set with powder to avoid creasing.
Blending Gently blend edges to ensure a seamless transition. Light Yellow Use a damp beauty sponge for best results. Use a setting spray to lock in makeup.
Highlighting Apply a highlighter on top of the corrector for brightness. Light Beige A small applicator brush for precision. Finish with a translucent powder to set.
Final Coverage Layer concealer over the corrector for full coverage. Concealer close to your skin tone Apply with a brush or the tip of your finger. Use a setting powder to prevent fading.

Additional Tips for Concealing Dark Circles Effectively

When addressing dark circles, color correctors are a game changer. Choose the right shade for your skin tone. A peach or orange tone can cancel out blue undertones efficiently. Apply a small amount with your ring finger. This helps in controlling the product and minimizing excess.

Blending is key for a natural look. Use a damp beauty sponge or your finger to tap the product gently. Avoid harsh rubbing; this can irritate the delicate skin around your eyes. Be aware that using too much product can lead to creasing, so start light.

Setting your corrected area is essential. Use a fine-setting powder to lock it in. A little goes a long way. Monitor for dryness throughout the day. Hydrate your under-eye area regularly to maintain a fresh appearance. Remember that each skin type requires different care, so don’t hesitate to adjust your methods as needed. Your routine should evolve with your skin.

FAQS

: What is the first step in applying a color corrector?

: Begin by choosing the right shade of color corrector for your under-eye area.

How do I apply the corrector?

Lightly dab the corrector onto the skin using your ring finger to minimize pressure.

What tones work best for dark circles?

Peach or orange tones effectively counteract blue and purple undertones.

Why is blending important?

Blending prevents a cakey appearance and results in a more natural look.

Should I use a brush or my fingers for application?

Most users prefer finger application for seamless blending and control.

How do I avoid too much product?

Start with a small amount; less is more to avoid amplifying imperfections.

What follows the application of color corrector?

Apply a lightweight concealer on top to enhance coverage and brightness.

How can I set my makeup for the day?

Use a fine-setting powder to lock in the corrected area, applying a little at a time.

How can I keep my under-eye area hydrated?

Regularly hydrate your under-eye skin to maintain a fresh look throughout the day.

What should I keep in mind about my technique?

Reflect on your application each time and adjust your methods to suit your changing skin.

Conclusion

To effectively cover dark circles with color corrector, it's essential first to understand their causes and types, as this knowledge will guide your product selection. Different undertones of dark circles may require specific shades of color corrector; for instance, peach or orange tones can neutralize blue or purple tones, while yellow may combat reddish undertones.

Once you've chosen the right color corrector, a step-by-step application technique is crucial. Start by applying the corrector with a light hand, focusing on the inner corners and outer edges of the eyes. After applying, blending is key to achieving a seamless look. Use a damp sponge or your fingertips to gently blend the corrector into the skin, ensuring there are no harsh lines. Finally, set the corrected area with a lightweight powder to maintain long-lasting coverage. Additional tips, such as using a hydrating concealer afterward and choosing appropriate lighting, can enhance your overall results in concealing dark circles effectively.

Ethan

Ethan

Ethan is a seasoned marketing professional with a deep expertise in our company's innovative product line. With a passion for sharing knowledge and insights, he takes the lead in regularly updating our corporate blog, where he explores industry trends, product features, and effective marketing......